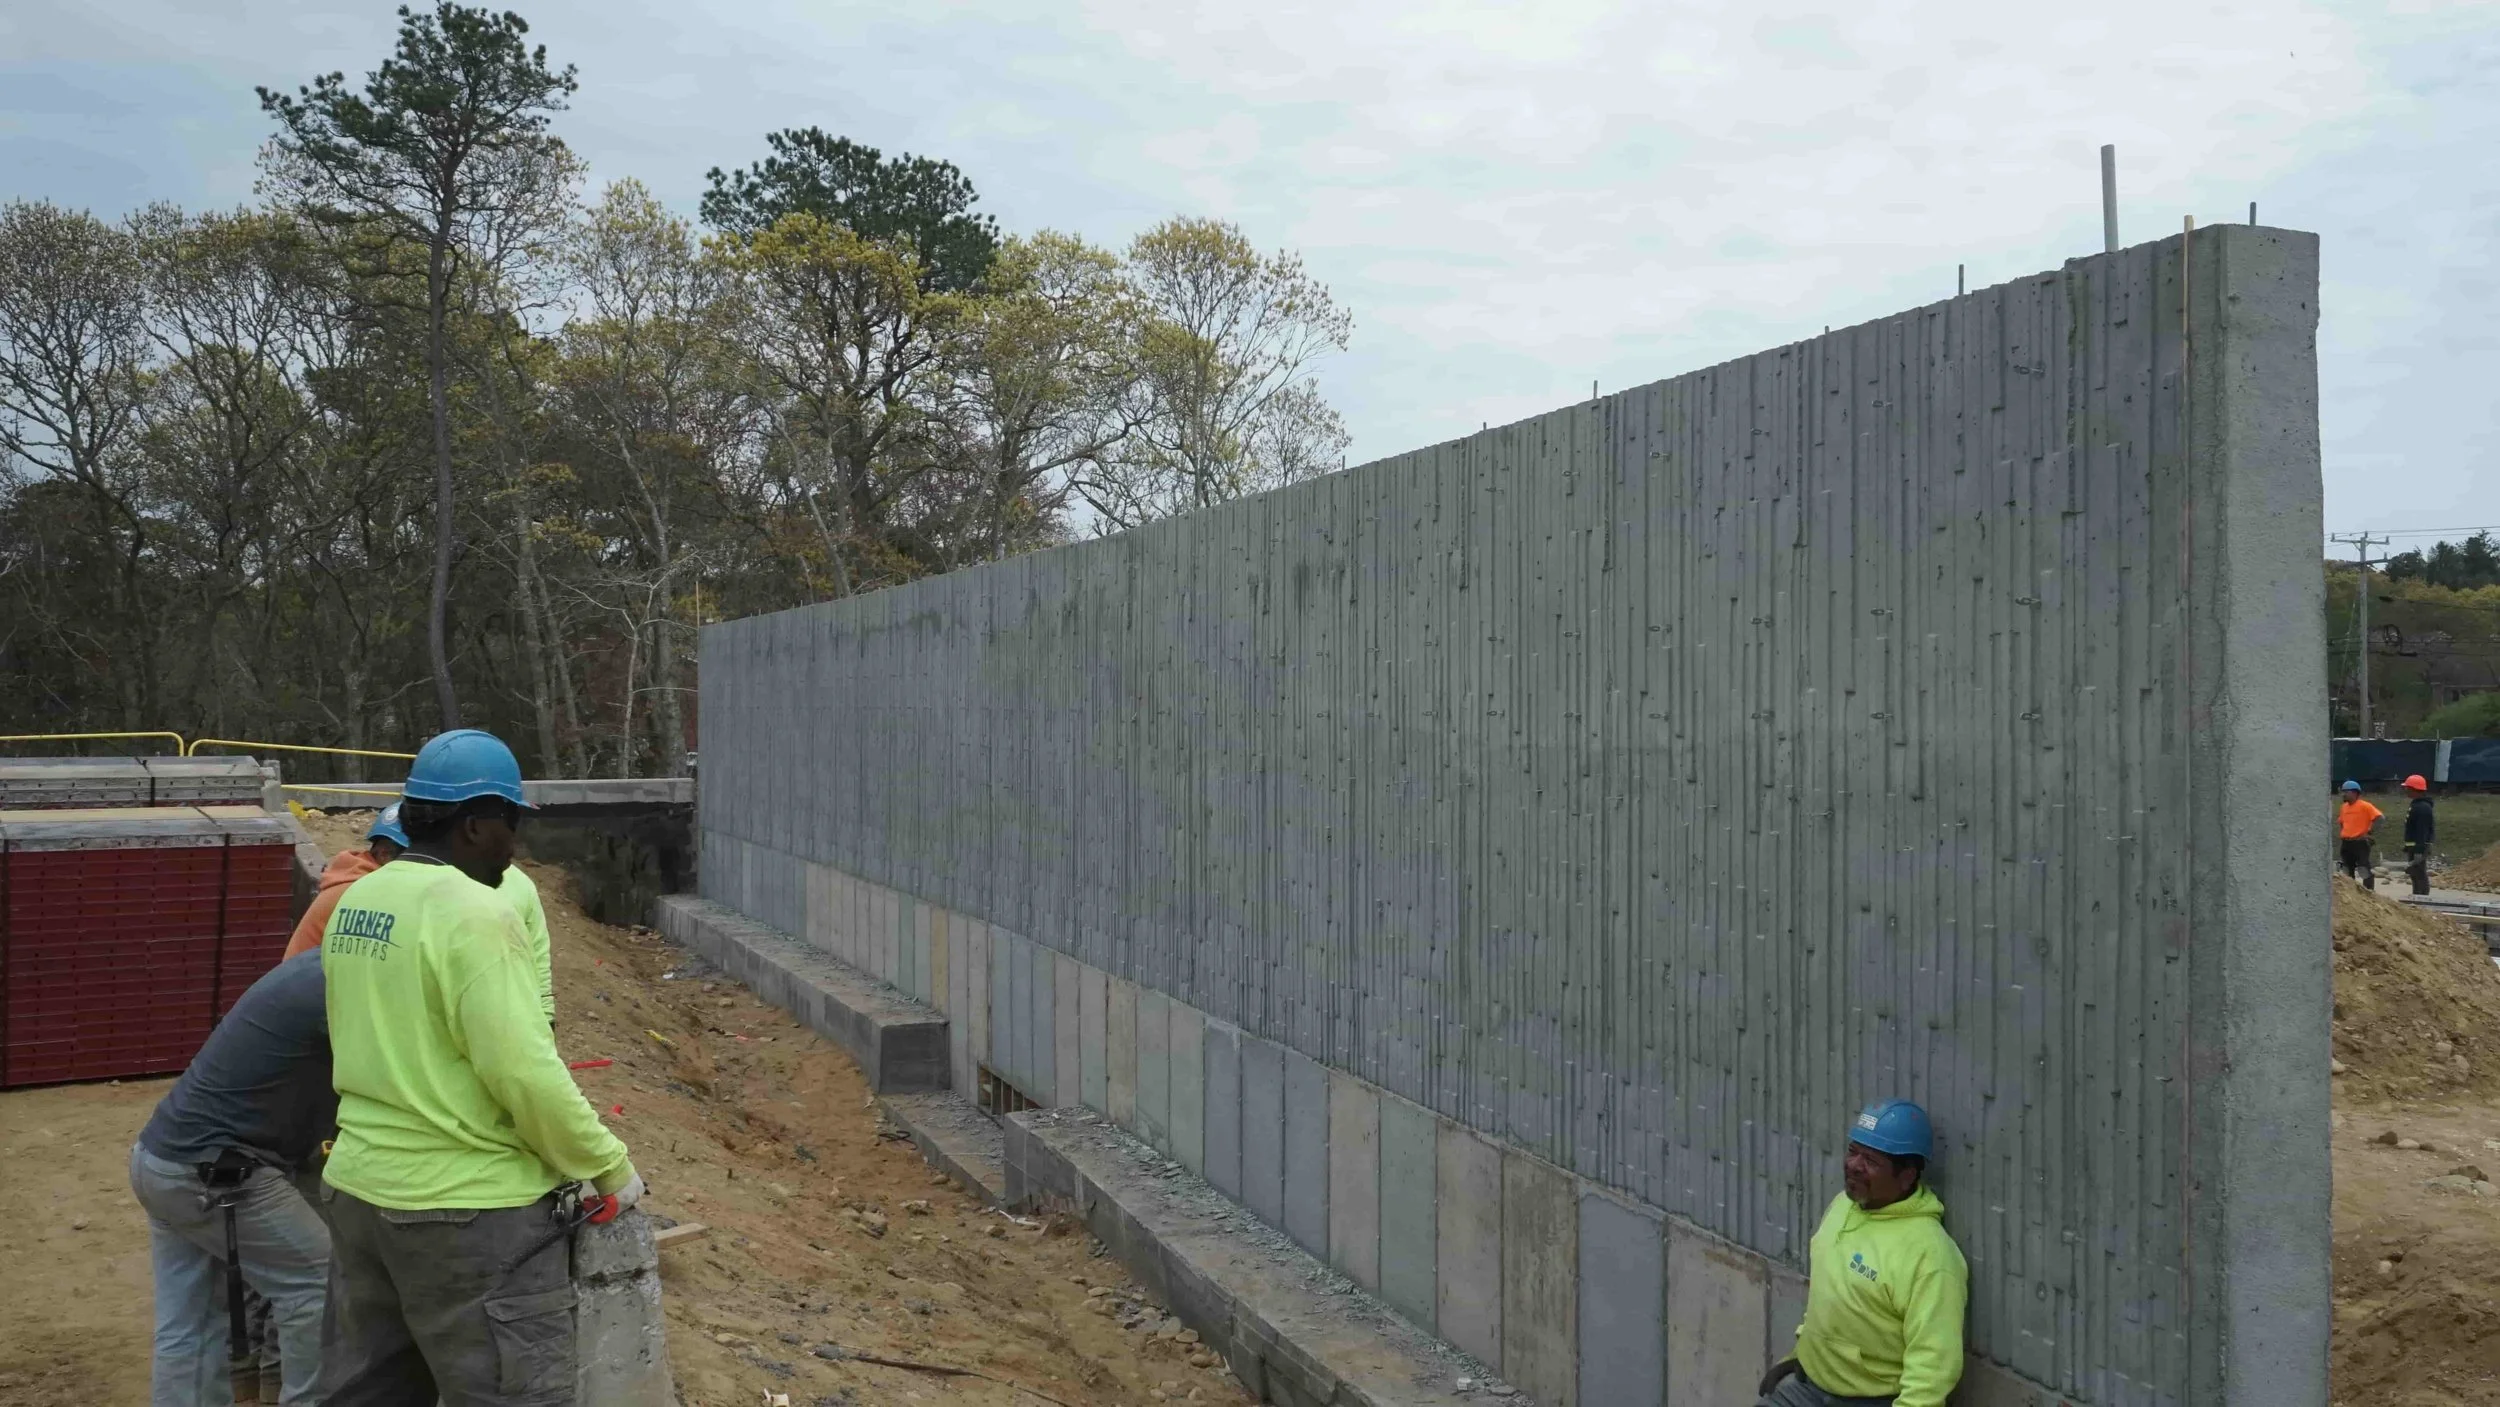
Fiberglass Ties+Form Liner
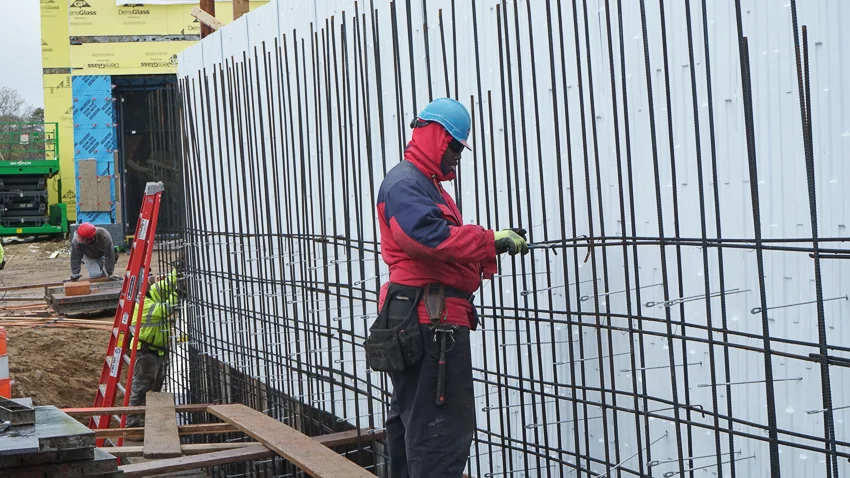
Fiberglass ties work excellent with form liners — they blend in perfectly with various textures and patterns and will never rust, which means NO STAINING and because the ties are ground flush with the wall there is NO PATCHING.
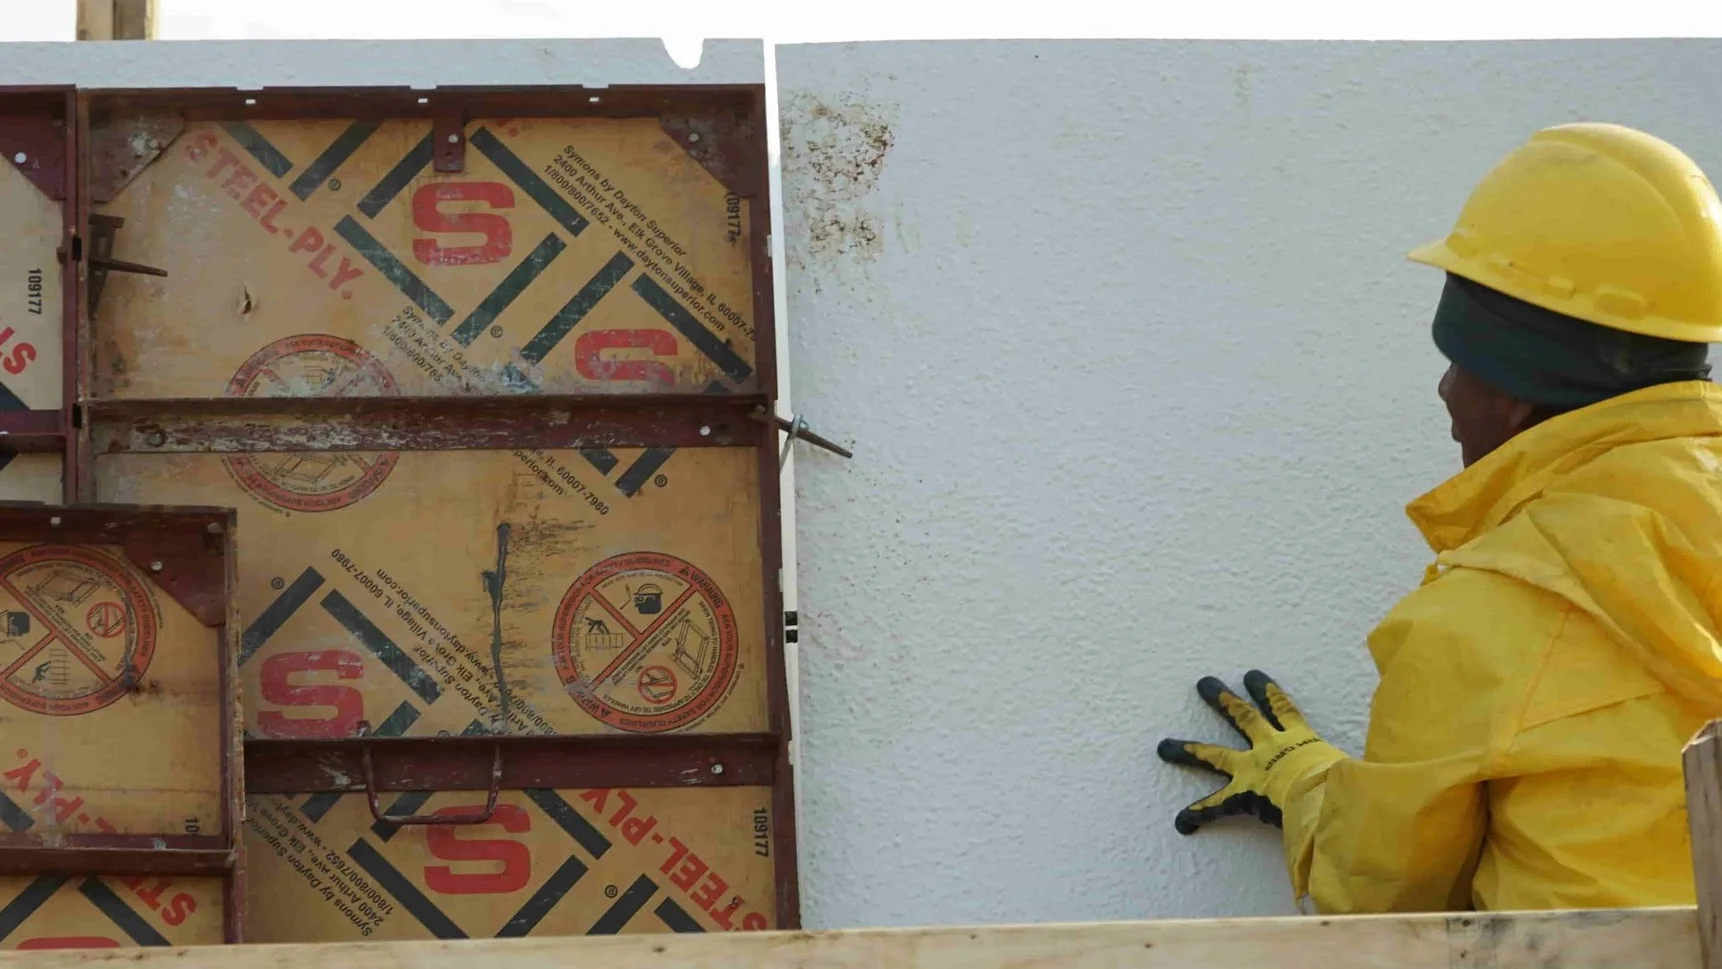
If you own or rent steel ply panels, using a form liner with fiberglass ties is incredibly easy. Setting up a wall is the same as it would be with steel loop ties and stripping is even more simple. See below for a step by step guide.
Application Guide
INSTALLATION
1.) Install form liner
Set up one side of formwork (the side that the liner will be applied) and fasten the liner to your steel framed panels according to the manufacturers reccommendation.
2.) Drill slots
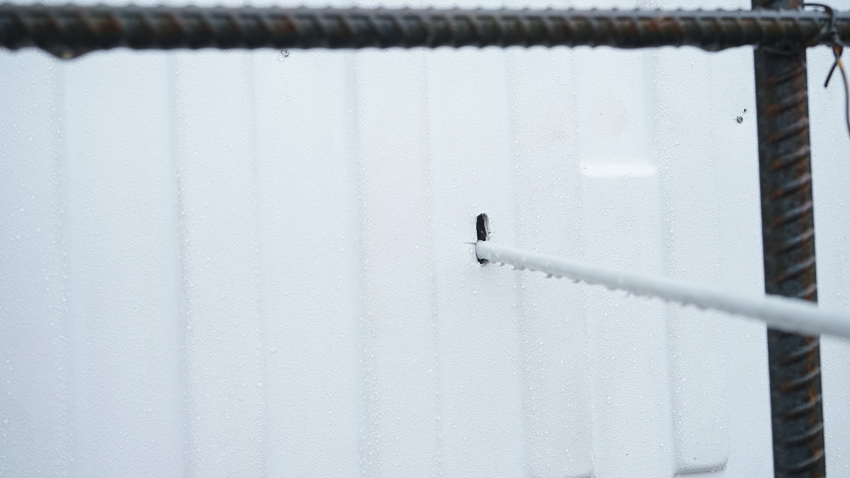
Drill, route, or melt slots in at the intended tie locations. Slots should be 5/16” wide and 7/8” tall allow the loop to comfortably slide through.
3.) Pass ties through
Pass ties through slots and wedge bolt them onto the first side of the wall. You are now ready to stage the second side of the wall.
4.) Install second side liner
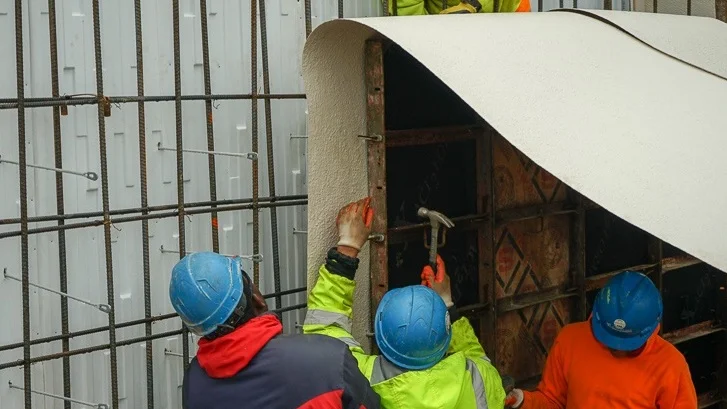
When using a form liner on both sides of the wall now is the time to install the second side liner. Nail a portion of it to a free panel, then wedge bolt that panel into place.
5.) Pour…
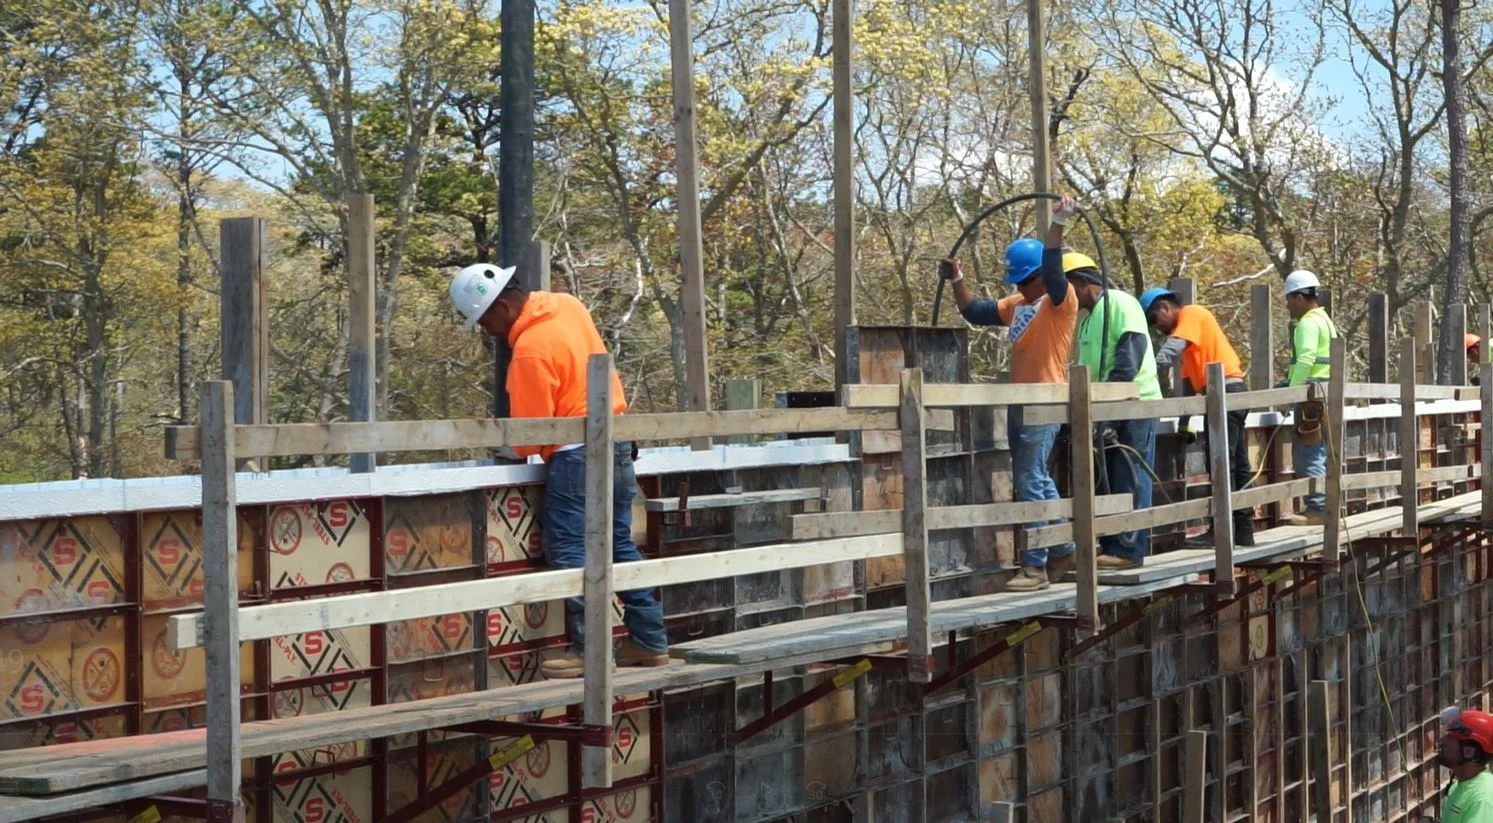
Pour your wall the same you would with any other ties. Steel Dog Fiberglass loop ties do not require a special hardware, they rely on a standard wedge bolt.
STRIPPING
1.) Pull panels off wall
For single use liners like the ones used in this job, you can aggressively strip your steel ply forms away from the wall— breaking off pieces of the liner at the same time. For reusable liners follow the manufacturers guide.
2.) Grind ties flush with the wall
There are a number of ways to cut the tie back to the finished wall. Most common are an oscillating multi-tool or angle grinder equipped with diamond cutters. You can also use a dremel tool for very detailed work.
Form liner placement
When installing a form liner you can choose where the liner joints occur. some contractors prefer the liner joint occur at the same place as the panel joint, others prefer to overlap the panel joints with the liner. You can tailor and cut your liner to favor one joint over the other, either one works well.
Overlapping Joints
This is where the liner overlaps the joints of the steel ply panels. In this case slots are made in the liner large enough to pass the loop end through.
Flush Joints
This occurs where the edges of the liner terminate at the edges of the steel ply panel. You will still need to drill a slot for the tie, but it can be much smaller since it doesn’t need to accommodate the loop end.


